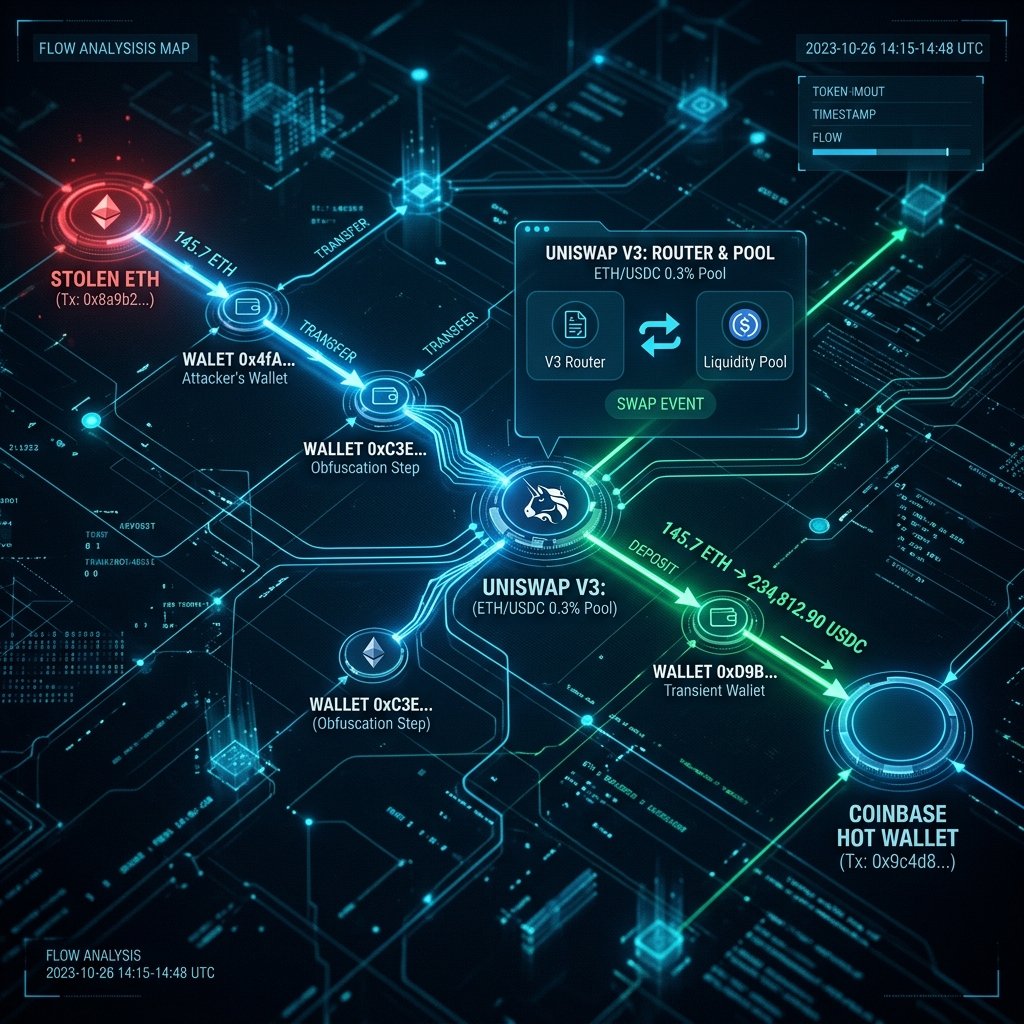
The moment you realize your Ethereum has been stolen is a visceral shock. You watch the transaction on Etherscan and see your hard earned assets move into a wallet you do not control. But then, the trail often takes a deceptive turn. The attacker moves the ETH to a Decentralized Exchange like Uniswap and swaps it for USDC stablecoins. At this point, many victims believe the trail is dead. They assume the "Liquidity Pool" has washed the evidence away. But every swap on a DEX is a recorded event in a smart contract. The truth is not gone; it has simply changed its form.
If you are determined to track stolen ETH swapped to USDC deposited to Coinbase, you are engaging in a process of forensic block indexing and contract scraping. To follow the currency through the "Swap Loop," you must identify the specific Uniswap V3 Router interaction and track the resulting ERC20 token movement. One of the most powerful tools for querying this historical data at high speed is TrueBlocks. Below, we detail the technical architecture required for this investigation and the massive infrastructure barriers that make it inaccessible for most victims.
TrueBlocks: The Professional Indexing Engine for Ethereum Forensics
TrueBlocks is a specialized open source framework designed to provide lightning fast access to historical Ethereum data. Unlike public block explorers that limit your query depth, TrueBlocks creates a local index of the entire blockchain on your own hardware. This allows an investigator to scrape every transaction ever made by a specific smart contract such as the Uniswap Router to identify the exact moment the stolen Ethereum was converted. In the world of crypto forensics, this is known as "High Resolution Indexing."
The core utility of TrueBlocks lies in its ability to generate "Appearance Indexes." This allows you to find every block where a specific wallet address appeared, regardless of whether it was the sender, the receiver, or a participant in a multi layered contract call. By identifying these appearances, you can trace the resulting USDC tokens through subsequent "hops" until they reach an "Institutional Hot Wallet" the cluster of addresses used by major exchanges like Coinbase to receive user deposits.
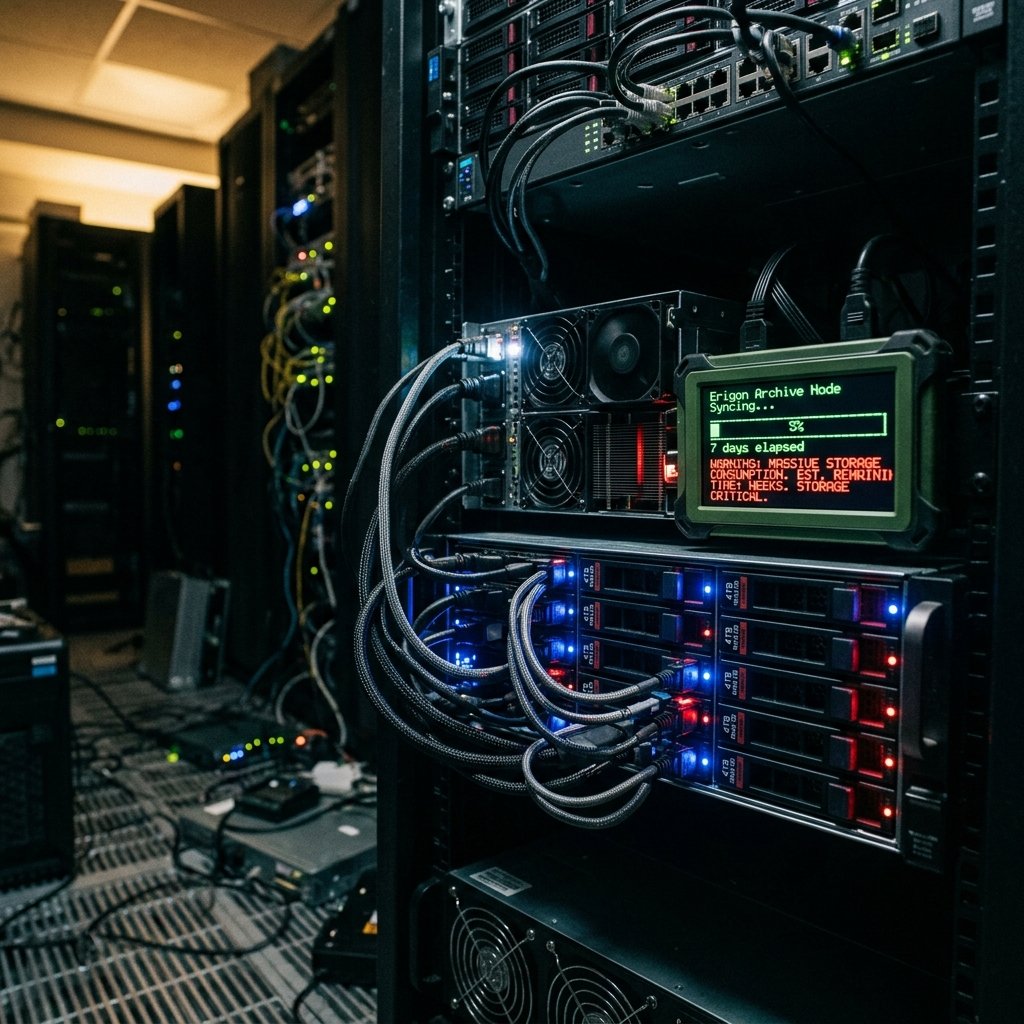
The Erigon Archive Node Trap: A Binary Bottleneck
To use TrueBlocks effectively, you cannot rely on a standard "Light Node" or a third party provider like Infura. You must operate your own Erigon Archive Node. An archive node stores the "Full State" of the Ethereum blockchain at every single block since Genesis. While a standard node only knows the current balances, an archive node knows everything that has ever happened to every wallet. For a forensic investigator, this is the only way to prove the origin of the stolen assets across a DEX swap.
This is where the DIY investigation hits the "Trap." An Erigon Archive Node is a massive data structure. It requires hardware that goes far beyond a standard consumer computer. You are moving from "technical curiosity" to "data center management" simply to run a single query. Without this archive state, you are searching in the dark, unable to prove the link between the initial theft and the final Coinbase deposit.
Technical Deployment Configuration and Indexing Commands
To deploy TrueBlocks, an investigator must configure a forensic workstation with a dedicated server architecture. Experts use Linux environments typically Ubuntu Server to handle the extreme I/O requirements of the indexing process. The workstation must be configured to prioritize disk performance above all other metrics, as the speed of your investigation is directly limited by the "Seek Time" of your drives.
1. Environment Configuration: The server must have the Go language and the C++ compiler stack installed. TrueBlocks is built for performance, and it requires local compilation to optimize the indexing engine for your specific CPU architecture.
2. Source Acquisition: Source the tool directly from the official repository to ensure the latest contract signatures for Uniswap and other liquidity protocols.
- Official Tool Link: TrueBlocks Core on GitHub
3. Technical Execution: Once the Erigon node is fully synced, the TrueBlocks indexing sequence is initiated via these commands:
# Clone the TrueBlocks repository
git clone https://github.com/TrueBlocks/trueblocks-core.git

# Build the indexing engine
make build

# Initialize the index against your local Erigon node
chifra init

# Scrape the appearances for a specific wallet or contract
chifra list [target_address]
When the command executes, the engine begins scanning its local indices. It identifies every transaction hash where the stolen Ethereum interacted. You can then use the chifra trace module to reconstruct the execution of the Uniswap smart contract, revealing the exact USDC output address. This "Token Pivot" is what allows you to continue the hunt after the swap occurs.
The Target Sync Wall of Friction: A Three Week Delay
While the technical process is definitive, it presents a massive "Wall of Friction" that often results in the attacker escaping with the funds. This is the "Synchronization Delay." An Erigon Archive Node is not something you can download and "just run." It must synchronize with every other node on the global network, verified block by block. In 2026, the Ethereum mainnet is so massive that this process takes a minimum of 2 to 3 weeks even on high performance hardware.
For a victim of a theft, this delay is a death sentence for the investigation. While you are waiting for your node to sync, the attacker is moving the USDC tokens from wallet to wallet, or worse, they have already withdrawn the funds from Coinbase and disappeared into the physical world. A DIY investigation is a race you have already lost before you even buy the hardware.
The High Performance NVMe SSD Hardware Bottleneck
The hardware requirements for this investigation are extreme. An Erigon Archive Node requires at least 4TB of NVMe SSD storage with high endurance ratings. Standard consumer SSDs will often burn out during the initial sync due to the intense "Parallel Writing" required. You need enterprise grade hardware drives like the Samsung PM series or Intel Optane which cost thousands of dollars. Spending such a massive sum on hardware just to trace a theft that has already happened is a "Sunk Cost Trap" that most victims cannot justify.
Professional Cross Chain Attribution and Rapid Recovery
At Trusted Private Investigators, we do not wait for node syncs or hardware cycles. We utilize Pre Indexed Cross Chain Tracing Tools that allow us to achieve total attribution in a fraction of the time required by open source methods.
Untangling the DEX Swap in Real Time
Our team utilizes institutional forensic platforms that have already indexed every block of the Ethereum and Polygon networks. We do not have to "scrape" the Uniswap contract manually; we can identify the swap and the resulting USDC destination in under 15 minutes. We move at the speed of the blockchain, not the speed of an SSD sync. We identify the specific Coinbase Deposit Address linked to the attacker's KYC identity before they have a chance to off ramp the funds.
Securing the Assets via Institutional Subpoena
Once the Coinbase deposit is identified, we act immediately. We draft the Forensic Attribution Report and the necessary legal documents to initiate an asset freeze with the exchange's compliance department. We provide the "Verified Chain of Custody" that proves the USDC in that specific account is the result of your stolen Ethereum. We don't just follow the trail; we close the circle around the criminal.
The Enterprise Pivot: Stop the Attacker with TrustedPI
The complexity of decentralized exchanges is designed to frustrate the amateur. The attacker counts on your inability to follow the assets through the swap. But for our team, a Uniswap swap is just another data point in a broader forensic map. You do not need to become a server architect or a blockchain indexer to get your money back. You need a team that already has the infrastructure in place.
The difference between a "DIY search" and a "Professional Investigation" is the Speed of Discovery. One waits weeks for a node to sync; the other initiates a freeze in minutes. If you have been a victim of an Ethereum theft, do not risk the trail going cold with amateur methods. You deserve professional protection and undeniable proof.